
Last Updated on June 26, 2024 by Admin
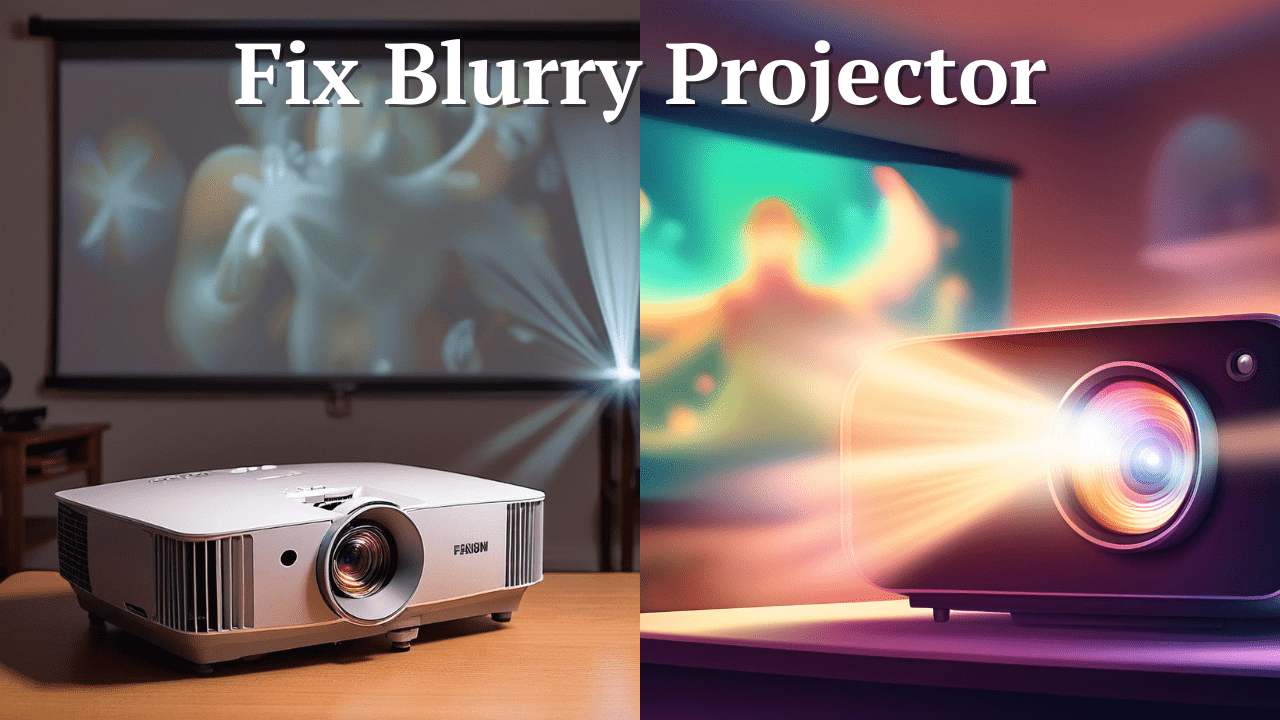
Whether in a business meeting, college presentation, watching movies or playing games, a crisp and clear projection is essential for an optimal viewing experience. Unfortunately, a blurry image can significantly spoil this experience.
As projector experts, we frequently receive inquiries from our readers, with one of the most common being, “Why is my projector blurry?” Well, there isn’t a single solution to the problem of a blurry projector image, as it can arise from several different causes.
To restore image clarity, we must first understand the reasons behind the blurriness and then identify the appropriate fixes. Continue reading as we explore potential issues and offer simple solutions for how to fix blurry projector.
Page Contents
Why is my Projector Blurry? (Common Causes):
Here are some common causes of blurry projector images. Identify the issue, and scroll down as we discuss detailed solutions for each one.
1 Dirty or Smudged Lens:
One of the most common reasons behind a blurry projector image is often attributed to lens problems. Over time, the build-up of dirt, smudges, and fingerprints on the lens can reduce image quality, resulting in blurry projections.
2 Misaligned or Damaged Lens:
There is a possibility that the projector lens may become misaligned during transportation or handling. If the lens is not properly aligned with other internal components, it can lead to blurry and fuzzy images. Additionally, any physical damage such as cracks or scratches on the lens can also be a major cause.
3 Focus Problems
One common reason “why is my projector blurry” is incorrect focus settings that need adjustment. If you still see blurry images even after cleaning your lens, the issue may lie with the focus settings. Manual adjustments to the focus might not always produce optimal image quality. Moreover, performing keystone correction can sometimes result in a loss of focus, further affecting image clarity.
Learn more about Keystone Correction here.
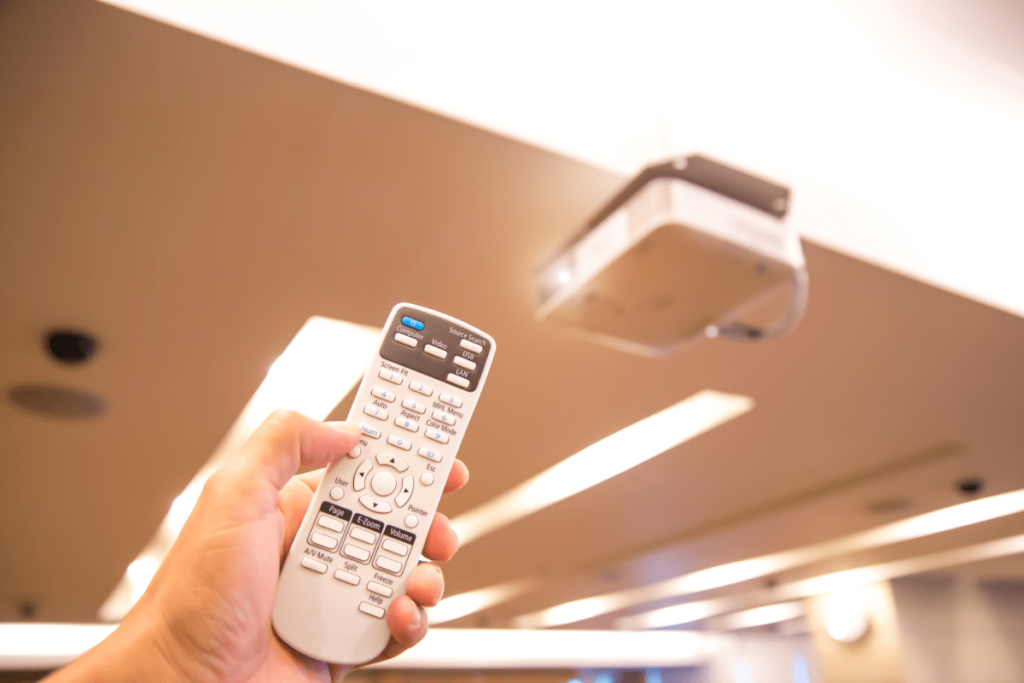
You can find a focus knob or ring in almost every modern projector, using which you can adjust the focus manually. Moreover, some modern projectors also have Auto-Focus feature
4 Resolution Mismatch
A projector requires a source device, such as a computer or pen drive, to display images. When the resolution of the media within the source device differs from the projector’s resolution, a mismatch can cause the image to appear blurry. The projector attempts to scale the image to fit its resolution, which can result in a loss of clarity.
5 Incorrect distance from the screen.
People often neglect this, but the placement of the Projector and its distance from the screen also make a significant impact on image clarity. The image may appear blurry even if the Projector is placed too close or too far from the screen.
Each projector has a specified throw distance, detailed in its product specifications, which should be adhered to for optimal performance. Placing a long-throw projector too close to the screen due to space constraints can lead to unclear and blurry output. It’s important to follow manufacturer guidelines regarding placement to ensure sharp and clear projections.
Hence, understanding the distinction between short-throw and long-throw projectors is crucial in determining the most suitable projector for your environment.
6 Improper angle or placement.
An important step in solving “Why is my projector blurry” is to check for proper alignment and placement. Not only the distance, but the angle of placement also matters when it comes to projecting crystal clear images. The image can get blurry when the Projector is not aligned perpendicular to the screen. The 4D keystone correction feature proves invaluable in such instances, allowing for precise adjustment to maintain optimal image quality.
7 Ambient Light Interference
Having Excessive ambient light in the room can also impact the picture quality, causing it to appear washed out, blurry, and less vibrant.
To counteract this effect, it’s advisable to choose a projector with higher Lumens when operating in bright environments. This ensures the projector can produce a brighter image that stands out against ambient light.

8 Quality and type of the screen.
Many users prioritize investing in a high-quality projector but often overlook the importance of a good projector screen. Opting for cheap projector screens or projecting onto a plain wall can result in unclear and blurry images.
Therefore, before asking “Why is my projector blurry”, you really need to determine whether the issue lies with the projector or the screen.
You can also check out the Best Projector Screen for Bright Room.
By choosing an appropriate projector screen, users can significantly improve the overall viewing experience and avoid common issues related to image clarity and sharpness.
9 Screen Damage or Dirt
As we mentioned in the beginning a dirty lens can project blurry and unclear images. Similarly, a projector screen that is dirty, dusty, stained, or physically damaged can also result in blurry images. It’s essential to keep both the projector lens and screen clean and well-maintained to ensure optimal image quality and clarity during projections.
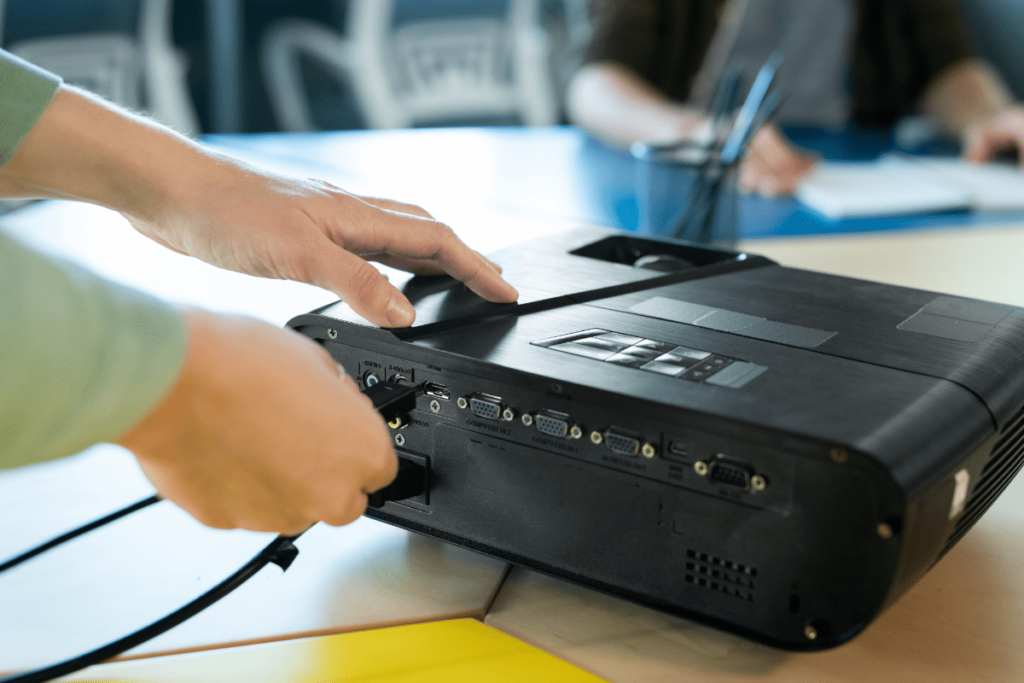
10 Cable and Connection Issues
In rare cases, poor quality and damaged cables can degrade the signal transmitted from the source device to the Projector, which can result in Blurry output.
Besides that, loose or improper connections may also contribute to unclear image quality.
How to Fix Blurry Projector (Detailed Solutions)
1. Dirty or Smudged Lens
Fix: One essential tip on how to fix a blurry projector is to clean the lens regularly with a soft, lint-free cloth.
The best solution for a Dirty or Smudged Lens is to clean it regularly using the following instructions. Avoid using rough fabrics or abrasive materials, as they can potentially damage the lens surface. Instead, use a soft, lint-free, or microfiber cloth and gently wipe the lens of the Projector in a Circular Motion.
Occasionally, you can use a glass cleaning liquid to effectively remove stubborn dirt or smudges.
While some may suggest applying a screen guard to protect the lens from dust, our experts at BestOfProjectors.com advise against it. Although a screen guard may offer temporary protection, it can potentially degrade image quality over time. If you do choose to use a screen guard, replace it periodically to maintain optimal image clarity and prevent any buildup that could affect projection quality in the long run.
2. Misaligned or Damaged Lens
Fix: It is recommended to get assistance from a genuine official repair center in case of a Misaligned or Damaged Lens. These professionals have the expertise and tools necessary to properly realign or replace the lens, ensuring optimal projector performance.
However, if you prefer to attempt adjustments yourself, consult the projector’s manual for specific instructions on aligning the lens. Follow the manufacturer’s guidelines carefully to avoid causing further damage. If you’re unsure or uncomfortable with technical tasks, it’s best to seek assistance from a knowledgeable expert to ensure the lens is correctly aligned and the projector functions correctly.
3. Focus Problem
Fix: You can adjust the focus of your projector using the focus knob or ring provided. Turn the knob slowly while observing the projected image until it becomes sharp and clear.
For added convenience, some modern projectors are equipped with an auto-focus feature. This feature automatically adjusts the focus to ensure the image remains sharp without manual intervention.
4. Matching Resolutions
Fix: Make sure that both the Projector and Source Device are set to the same resolution. You can adjust the Resolution in the Display settings menu of your Projector. Matching the resolution between the projector and the source device ensures compatibility and helps maintain clear and sharp image quality during projection.
5. Optimizing Distance and Placement
Fix: Refer to your projector’s manual to determine the optimal throw distance and ensure the projector is placed within the recommended range. Placing a short-throw projector too far away or a long-throw projector too close can lead to unclear and distorted images. Therefore, it’s essential to research and select a projector that suits your specific environment and throw distance requirements.
Check out our Projector Buying Guide.
6. Improper Angle or Placement
Fix: Position the projector perpendicular to the screen at an appropriate height. Adjust the projector manually or utilize the keystone correction feature to align the projected image properly with the screen. If available, utilize the 4D auto keystone correction feature to achieve precise picture alignment and ensure high-quality projection. Additionally, you can also consider using a Tripod or Mount to secure the Projector’s Position and maintain stability.
7. Controlling Ambient Light
Fix: If you’re trying to figure out how to fix a blurry projector, consider using blackout curtains. You can enhance your viewing experience by reducing ambient light using blackout curtains or blinds. Lowering room lights during projection also helps improve image clarity.
Opting for a projector with high lumens is beneficial in countering ambient light. Moreover, consider investing in ALR screens (Ambient Light Rejecting screens) which are designed to minimize ambient light interference and enhance contrast and visibility during projection.
8. Quality and Type of the Screen
Fix: We suggest investing in a high-quality projector screen to achieve the best image quality. Ensure the screen is flat and free from wrinkles to maintain image clarity.
Alternatively, you can project onto a wall, but certain considerations must be followed. The wall should be flat and smooth, and you should paint it with a specific projector screen paint to enhance image reflection and quality.
Check out the difference between Projecting on a Projector Screen Vs Wall.
9. Screen Damage or Dirt
Fix: Regularly clean the projector screen using a soft cloth. Avoid using chemicals, as they may damage the screen surface. For stains or stubborn dirt, try using a damp microfiber cloth. If the screen has any damage, it is advisable to replace it to maintain optimal image quality.
10. Checking Cables and Connections
Fix: If you are experiencing display issues, check the cables and connections. Always use high-quality HDMI or VGA cables to connect your projector to the source device. Replace any cables that show signs of wear or tear. Additionally, double-check each connection to ensure the cables are securely and properly connected.
Conclusion:
By addressing these common causes and applying the appropriate solutions, you can significantly enhance the clarity of your projector image. Regular maintenance, proper setup, and using high-quality equipment are key to ensuring a crisp and clear projection, thereby improving your overall viewing experience.
By following our guidelines on how to fix blurry projector, you’ll no longer have to wonder, “Why is my projector blurry?”. Remember, a little attention to detail goes a long way in enhancing your projector’s performance and your overall satisfaction.